
Adding featured images to links shared on social media is a great way to drive website traffic. An image is worth 1,000 clever titles. If you’re lucky, you could even go viral with the right picture. But the adding featured images with Gatsby can be difficult. This blog explains our experience so you can use it as a guide.
How does this work?#
As mentioned in a previous blog about our front end architecture, our blog is a separate Gatsby application from our DoltHub site. Each page is made from its own markdown file, which includes meta data that we can query from Gatsby’s GraphQL API in our React components.
Once we grab the path to the featured image from the markdown, we can pass it to our SEO helmet component and set the meta tags for og:image and twitter:image. These properties will make the image show up when a link to the blog is shared on various websites.

Step By Step#
These next steps assume you are using the appropriate Gatsby image plugins and configuration. You can reference this article for those steps.
It’s best to start with the default case, so that every blog has an image. You can use a query like the following to get the path to whatever image you choose.
// components/SEOHelmet.tsx

const { site, ogImageDefault } = useStaticQuery(graphql`
  query {
    ogImageDefault: file(relativePath: { eq: "dolt-graphic-blog.png" }) {
      childImageSharp {
        fixed(height: 630, width: 1200) {
          src
        }
      }
    }
  }
`);
We use the fixed field in this query instead of fluid because we know the dimensions of our
default image. fluid is best used when the viewport might change, where the image needs to be more dynamic. Since we are only using this image as an image preview for link sharing, it is better practice to use fixed.
Note that we don’t need to use the relative path for this image because we resolve it within our gatsby.config.js file, like this:
// gatsby.config.js
module.exports = {
  ...otherConfig,
  plugins: [
    ...otherPlugins
    {
      resolve: `gatsby-source-filesystem`,
      options: {
        name: `images`,
        path: `${__dirname}/src/images`,
      },
    },
  ],
};
To check if you set up the paths correctly you can go to the /___graphql endpoint while running your application in development and run this query:
query {
  }
  ogImageDefault: file(relativePath: { eq: "dolt-graphic-blog.png" }) {
    childImageSharp {
      fixed(height: 630, width: 1200, fit: CONTAIN) {
        src
      }
    }
  }
}
It should result in something like the following:
{
  "data": {
    "ogImageDefault": {
      "childImageSharp": {
        "fixed": {
          "src": "/static/17c79ba38919d5ebad1384094a9bf575/72b43/dolt-graphic-blog.png"
        }
      }
    }
  }
}
The final step to get an image popping up is to construct the url for the content. We need to append the imagePath to the originUrl to get
the image to work.
The content of the images tag must be have the complete url to the image, otherwise no image will show. For example, https://www.yoursite.com/blog/path/to/this/image.png instead of /path/to/this/image.png.
You need these two meta tags to get the images to show: og:image and twitter:image.
Twitter is a bit different from other sites; most sites use og tags. But Twitter has it’s own
meta tags. You can explore the different types of
Twitter:card options that exist and set it to the one you like the best. Twitter has another feature: if there are no twitter: meta tags, then it defaults to
using the og: tags. It is still recommended that you use twitter: tags since this will give you greater control of how your content is shown on Twitter.
Putting this all together the code looks something like this
// components/SEOHelmet.tsx
import Helmet from "react-helmet";

const imagePath = constructUrl(
  site.siteMetadata.siteUrl,
  featuredImgSrc ?? ogImageDefault.childImageSharp.fixed.src
);

return (
  <Helmet
    htmlAttributes={{
      lang,
    }}
    title={fullTitle}
    meta={[
      ...metaFields,
      {
        property: `og:image`,
        content: imagePath,
      },
      {
        name: `twitter:image`,
        content: imagePath,
      },
    ].concat(meta as any)}
  />
);

function constructUrl(baseUrl: string, path: string): string {
  if (baseUrl === "" || path === "") return "";
  return `${base}${path}`;
}
Here is a nice repo with most of the social meta tags for those who want to dive deeper in this rabbit hole.
This covers the case for the default images. Before adding post-specific images, I would recommend testing with the official debuggers for Facebook, Twitter, and LinkedIn over using some meta tag tester sites. This is because some meta tag tester sites do not match how the real sites will show the link when posted. Some of them even have some glaring differences.
Assuming the default case works, adding functionality for post-specific images is pretty straight forward. Since we use Typescript, we need to first add an optional featuredImage parameter to our Frontmatter type.
export type Frontmatter = {
  author: string;
  date: string;
  title: string;
  tags?: string;
  featuredImage?: any;
};
Then we can add the featuredImage field to the frontmatter in any post’s markdown file. This field is optional and any blog post without it will use the default image.
---
title: "Adding images to our Gatsby blog for social media sharing"
date: "2022-06-08"
author: "Mario Lopez"
tags: "web, reference"
featuredImage: "../../../images/table-of-metacards.png"
---
The featuredImage should be a string of the relative path to the image. After this, you need to update the query in your blog post component, like so:
export const query = graphql`
  query ($slug: String!) {
    markdownRemark(fields: { slug: { eq: $slug } }) {
      excerpt
      html
      timeToRead
      frontmatter {
        author
        date
        title
        tags
+        featuredImage {
+          childImageSharp {
+            fixed(height: 630, width: 1200) {
+              src
+            }
+          }
+        }
      }
      fields {
        slug
      }
    }
  }
`;
Then you need to pass the featured image to the SEOHelmet. Here we can check if the featured image exists, and if not use the default image.
Some “Gotchas”#
Some of the common mistakes people tend to run into is hard coding the image path or not using the origin url to construct the content for the meta tag. Keep in mind, the path to the img does not have to be the same between your Local, Dev, and Production environments. The content is used as a full url path to find the image. To check if this is done correctly you can get this url from console logging it, or by inspecting the html and checking the meta tags to make sure you get the actual path in the image tag. This url should lead to a png of the image.
Sometimes the issue can be elsewhere. Some hosting services cache and updates metadata on some cycle around 24-hours or so. For instance, Netlify..Netlify is known to update between 24-48 hours. So in this case you can have Dev working, but Production can fail for seemingly no reason at all. Google your hosting site to check if they do this. Forcing a cache update could prevent hours of debugging something you just have to wait for.
Getting the siteUrl for an image for different environments#
The first big wall I ran into was getting the image path to adjust to our local, development, and production environments. Getting the website origin to construct the full url path is more complex than it initially seems. We were initially hard-coding the siteUrl in our Gatsby config to be our production website, https://dolthub.com/blog, but we needed a way to get this to work for our local (localhost:8000) and development (https://dolthub.awsdev.ld-corp.com/blog) as well.
I tried a few ways to get the origin on the client side, including using window.location.origin and useLocation from @reach/router. While the image url was correct when inspecting elements in the browser, these both failed when using the meta image inspectors I mentioned above. These crawlers don’t run the Javascript with a mocked out DOM before inspecting the meta tags. You end up with a link that looks like [origin]undefined.
We can use environment variables to change the siteUrl in our config for our local and production environments by using NODE_ENV (always “development” for gatsby develop and production for gatsby build) to specify different urls for those environments. However we use gatsby build for both our deployed development and production environments, so getting the url for our development environment is more difficult. We are currently working on a solution for this and will follow up with another post in the near future.
How to Correctly Test#
Now that you have images appearing for all your posts, you can deploy to production and tell your boss to try it out. My boss tried it. It works well for the default case, but when he added some post-specific images to some of his blogs, it broke. So I made this blog pleading to Tim please don’t fire me, it’s harder than it looks.
I tested my code on some meta tester sites and I thought they were accurate. I was wrong. All those meta tag tester sites are best used for sanity tests. They should only be used to check if the meta tags can be scraped given the link you post. Use these sites to scrape your own image path and check if it leads to an image in the url-bar. These sites do not exactly represent the way your links will look when posted. They can have the following errors:
- Changing card types and sizes
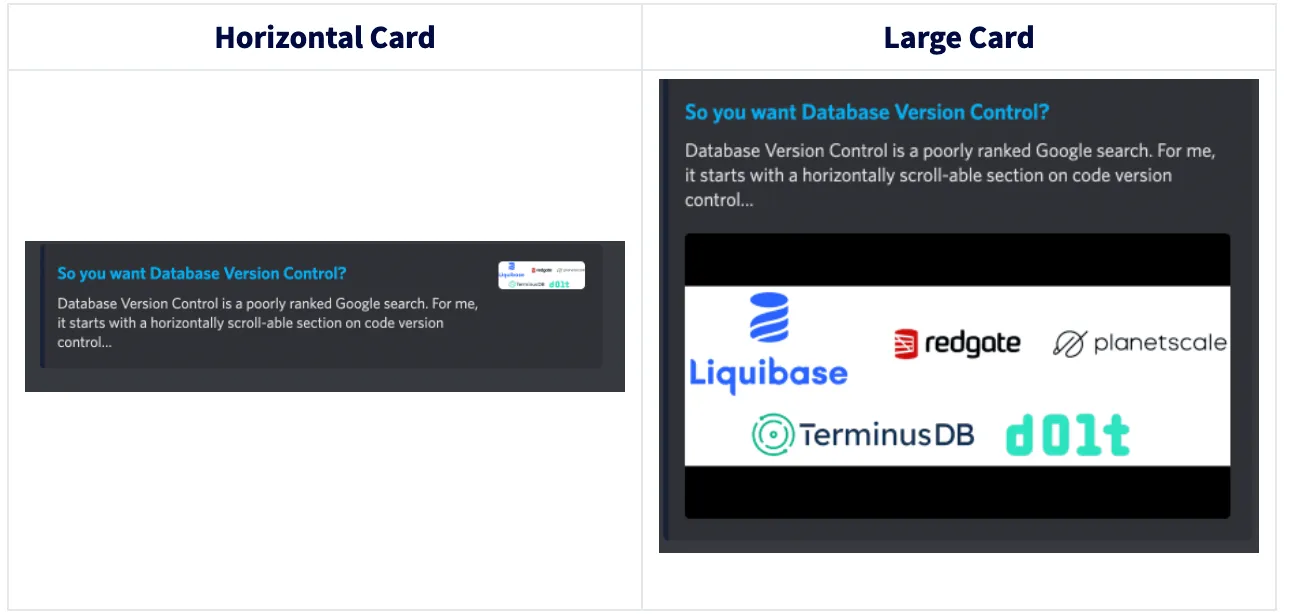
To correctly test your meta tags use the Facebook, Twitter, and LinkedIn post debuggers. Reddit does not have one, so you can just make a throw-away account and post your links to test them.
Choose a Ratio#
If your image looks wacky (too zoomed in or cropped), then there can be two main causes.
- You’re testing on Twitter and have the wrong Twitter card tag. To fix this you can change your meta tag to match the type of Twitter card you want.
- The other issue can be related to the ratio of your image. If your image has some weird ratio, then sites tend to just crop it into a square or landscape view. Picking a ratio for your images will give you more control over how they are shown.
As this blog suggests it could be best to enforce image dimensions to ensure predicable sizing behavior. We chose a ratio of 1.9:1 because this ratio is supported on many sites and works well with the large cards we prefer.
This query enforcing our ratio looks something like this
query {
  ogImageDefault: file(relativePath: { eq: "dolt-graphic-blog.png" }) {
    childImageSharp {
      fixed(height: 630, width: 1200, fit: CONTAIN) {
        src
      }
    }
  }
}
Note: This will add black bars to the images to make them fit the ratio we defined
Also if this ratio is not your cup of tea, try a 1:1 ratio or any other ratio that you fancy. Just edit the height and width to the ratio you want.
Fixing the Mess#
Once I chose a ratio fixing my mess was pretty straightforward. Since many people at our company write blogs, I just needed to force all images to the ratio I defined by updating the query in our blog post template component:
//BlogPost.tsx

+  fixed(height: 630, width: 1200, fit: CONTAIN) {
-  fixed(height: 630, width: 1200) {
For most sites, the ratio I chose is enough to get the large card I want. But Twitter is not most sites. We also need to update the twitter:card meta to summary_large_image.
<ReactHelmet
  meta={[
    ...metaFields,
    {
      property: `og:image`,
      content: imagePath,
    },
    {
      name: `twitter:image`,
      content: imagePath,
    },
    {
      name: `twitter:card`,
      content: `summary_large_image`,
    },
  ]}
/>
Now we can finally test everything again correctly, using the official debuggers and by making throw away accounts and making some posts. Everything should work as intended.
LinkedIn: my Boss Battle#
Now some of you like me might have issues getting this to work on LinkedIn. This could be because of the way LinkedIn caches the meta data. As a site, they cache
link data for seven days. So if you make a change today, then you can’t see the new meta until seven days pass. However, you can make LinkedIn re-cache your
data by testing your link here, or by appending ?latest to your link.
Note: the word latest does not matter as much as having some characters after the ?. This should not affect the contents of your url.
Once again double-check your meta data is correct since some hosting sites don’t necessarily re-cache metadata every time you deploy to production. If you get the following error and your link works everywhere else, then your redirect rules may be interfering with LinkedIn’s scraper bot.
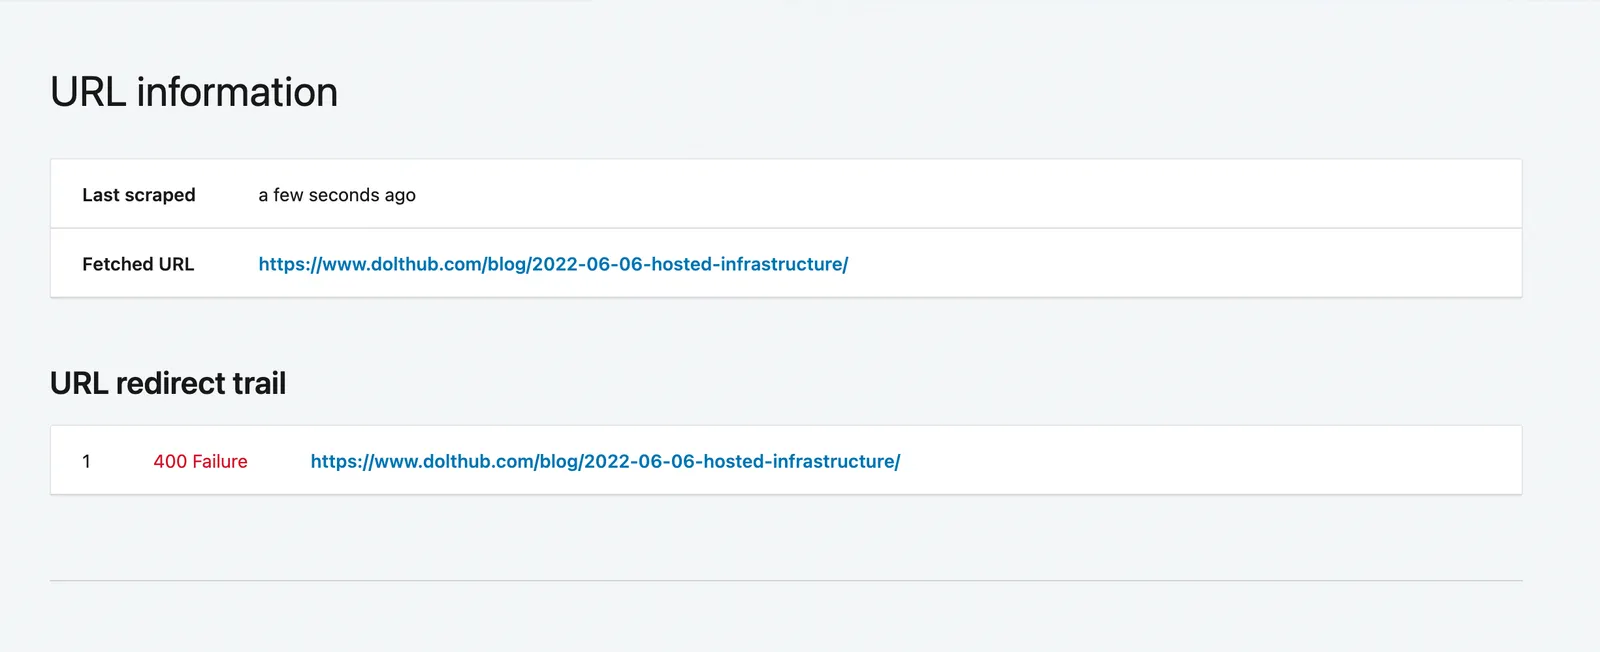
This bot seems to check if the redirect passes, then checks for the meta data. So if the redirect fails, your link will not show correctly. If this is your issue, this tool should help you test if your redirect rules work with LinkedIn.
For any other issues you might have, this debugger has more information about what could be causing LinkedIn to fail for you.
Take Aways#
What can go wrong will go wrong, but with better testing we can catch things before they become an issue.
I hope you found this blog useful. If you want talk about the problems you face while adding images to your Gatsby website,, or have any other questions, come chat with me on Discord.