
Today we’re excited to announce the release of DoltLab >= v2.3.14, which now includes support for OIDC Single Sign-On in DoltLab Enterprise. In today’s post, we’ll cover how you can configure your Enterprise instance to run with OIDC Single Sign-On.
For those unaware, OIDC stands for OpenID Connect. This is an authentication protocol built on top of OAuth 2.0 that enables Single Sign-On (SSO) across multiple applications. With OIDC, users are able to sign in to one application using a trusted identity provider (like Google, Okta, or a company’s internal identity system) and then access other connected applications without needing to log in again.
In a nutshell, it provides a secure and standardized way for applications to verify a user’s identity using ID tokens, while also supporting optional profile data and session management.
Prior to supporting OIDC, DoltLab Enterprise only supported SAML SSO, which is an older protocol, but still widely used. We’re excited our users now have a choice in their preferred configuration!
Prerequisites#
To configure your DoltLab Enterprise instance to use OIDC, you’ll first need to obtain an OIDC client_id and client_secret from the Identity Provider (IP) of your choosing.
For this example, we will use Keycloak as our IP. In order to get the client_id and client_secret from Keycloak, we first need to create a Client.
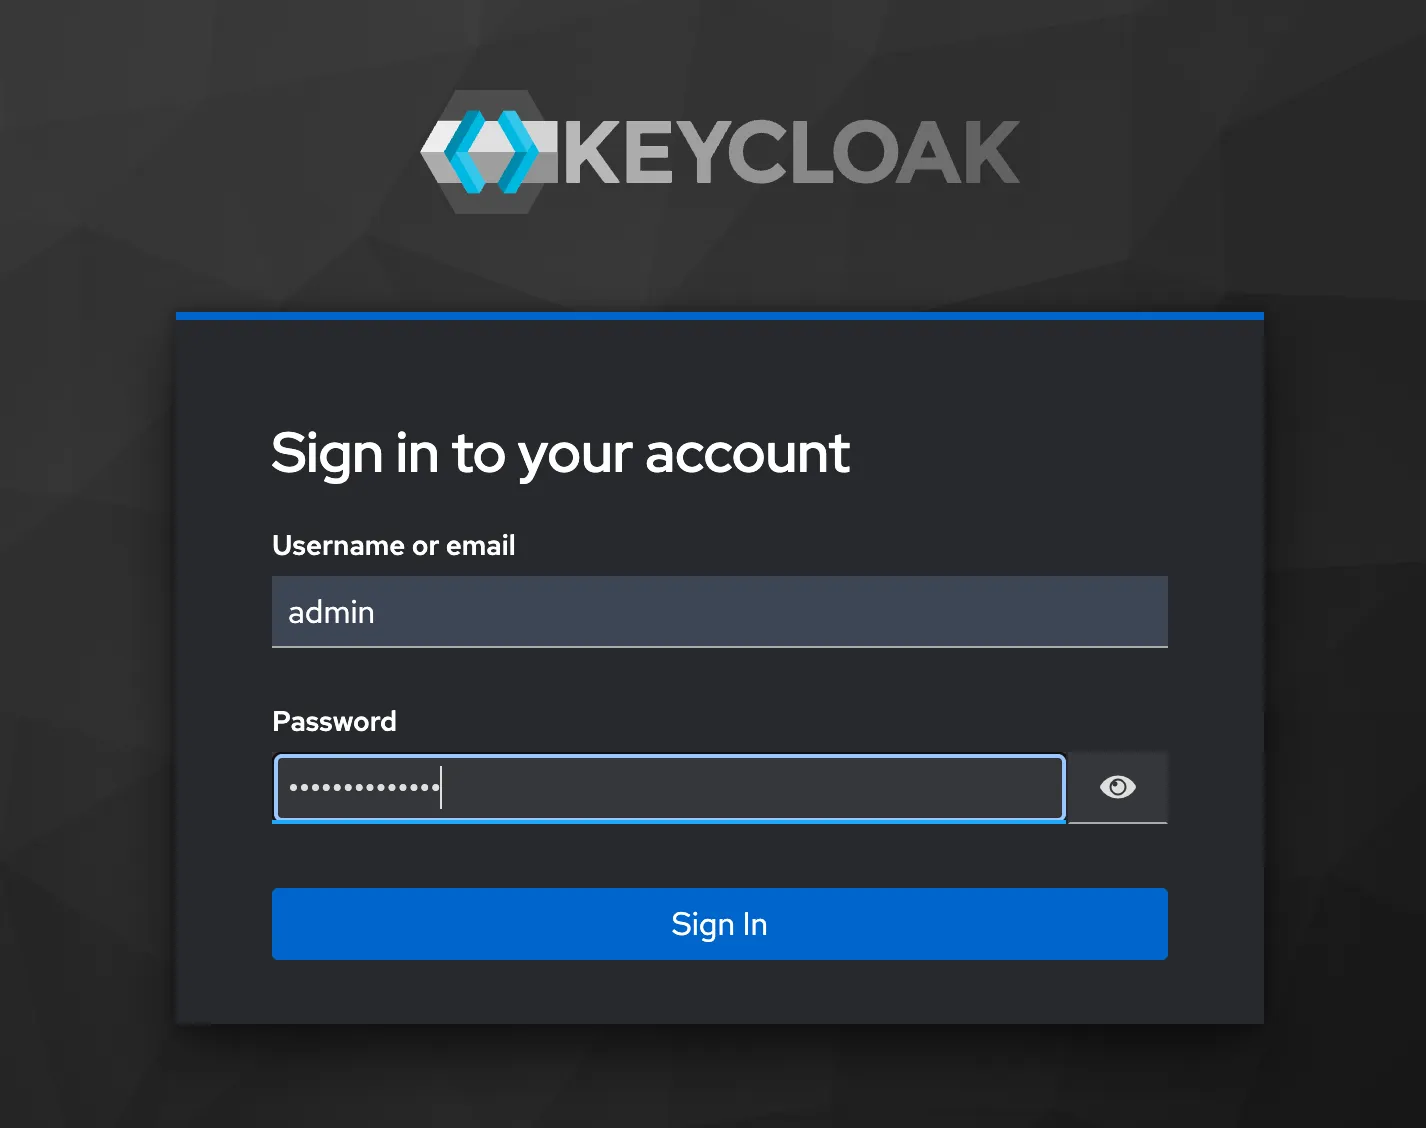
To do so, we’ll need to sign-in as admin and create a new Realm, or namespace, from the Keycloak dashboard.
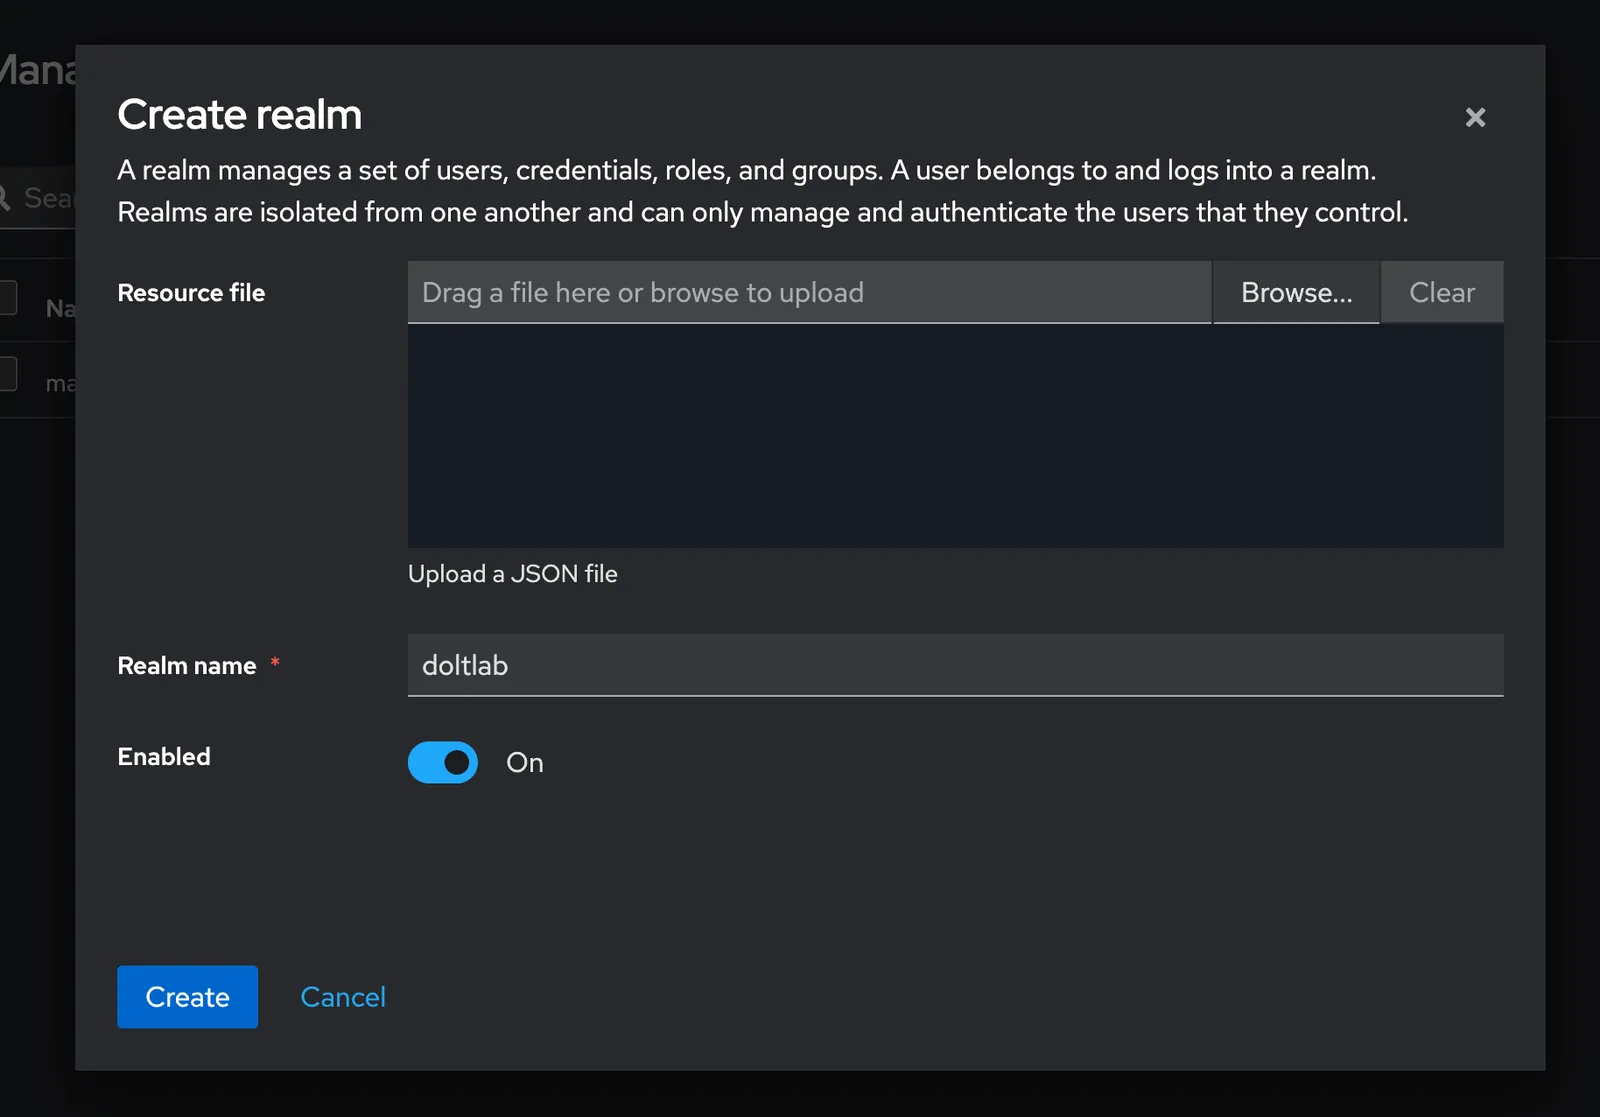
Looking at the images above, you’ll see we’ve created a realm called doltlab. Once the new realm is created, this will be set as our “current realm”, where we’ll create our OIDC client.
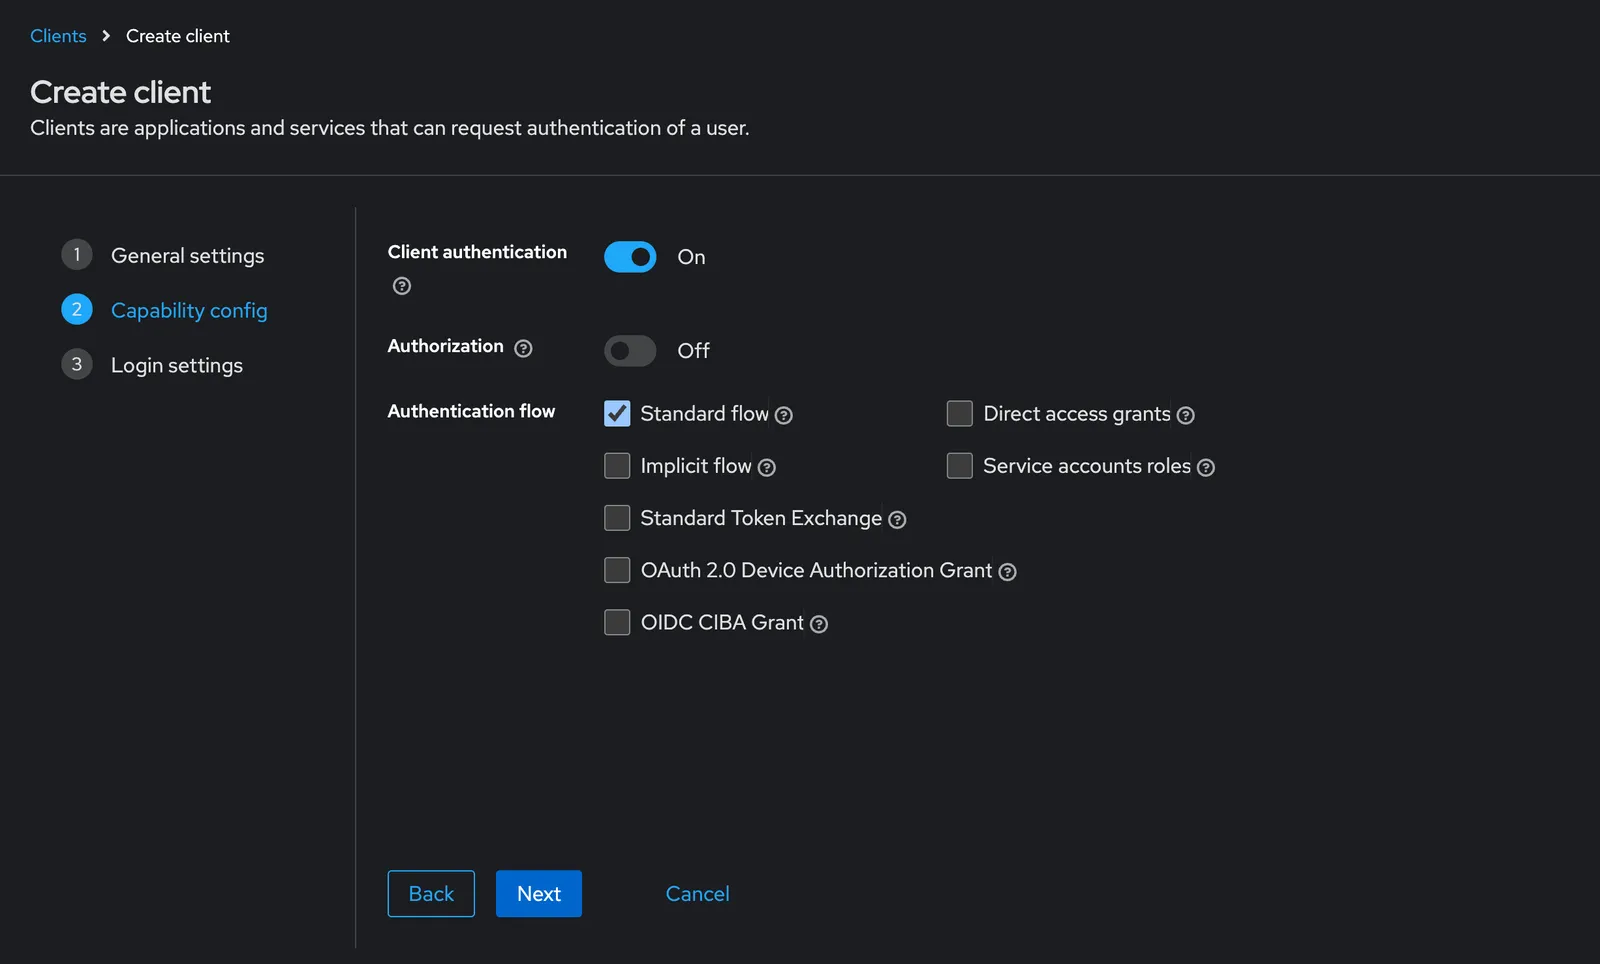
We click on the Client tab next, then proceed to create the OIDC client by filling out the “Create Client” forms, there are three. While doing so, it is important that we make sure to also select the “Standard Flow” checkbox option and enable Client Authentication at form number two.
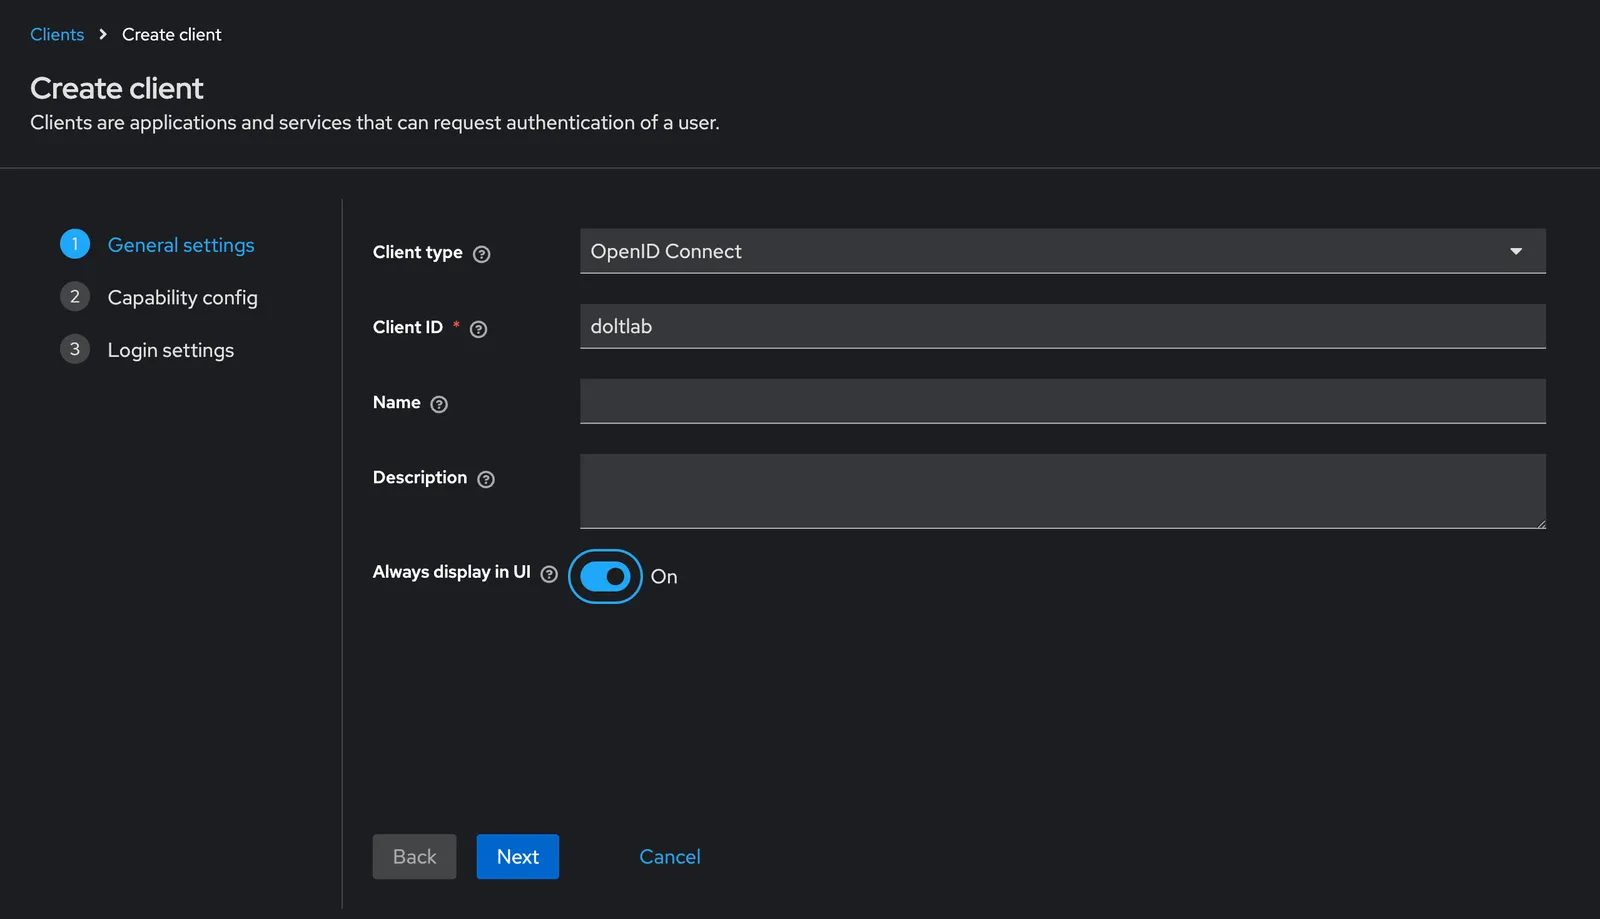
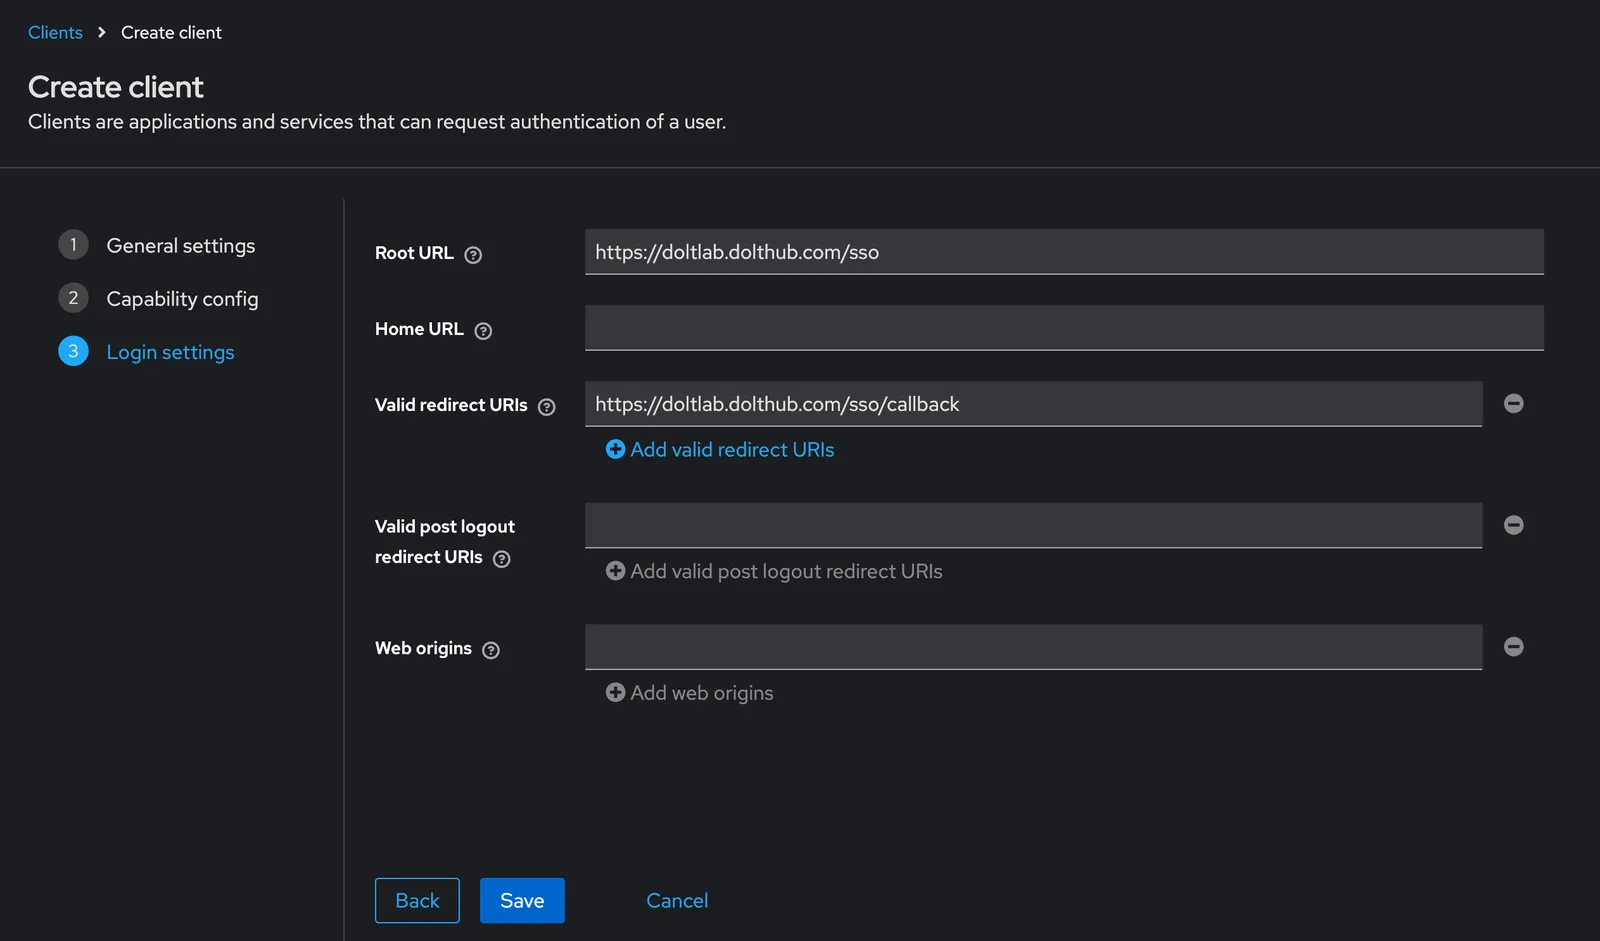
As you can see from the screenshots above, we’ve chosen doltlab to be our client_id.
For the “Root url” field, we’ve entered the hostname (or IP address) of our DoltLab Enterprise instance, followed by the path /sso. The /sso endpoint for DoltLab Enterprise is a special endpoint used for SSO authentication flows for both
SAML and OIDC configuration. For our example, this value is https://doltlab.dolthub.com/sso.
For the “Redirect url” field, which tells Keycloak where to redirect the user after they’ve successfully signed in, we’ll do the same thing we did for “Root url” only this time using the special path DoltLab Enterprise uses for SSO redirection, /sso/callback.
This makes the value of “Redirect url” in our example https://doltlab.dolthub.com/sso/callback.
To complete the creation of our client doltlab we can simply finish by clicking “Create client”.
After we’ve created the Client, navigating to the “Credentials” tab will allow us to copy our client_secret. We will use both the client_id and client_secret to configure our DoltLab Enterprise instance to use OIDC now.
To do so, first stop your DoltLab Enterprise instance using the ./stop.sh script. Then, edit the installer_config.yaml and add an oidc block to the enterprise block like so:
enterprise:
  oidc:
    issuer_url: https://mykeycloakdeployment.com/realms/doltlab
    client_id: doltlab
    client_secret: **********
In this oidc block, add the three required fields, issuer_url, client_id, and client_secret. For Keycloak, we must specify the realm where we’ve configured OIDC, so our issuer url is:
https://mykeycloakdeployment.com/realms/doltlab.
We’ve then pasted our client_id and corresponding client_secret into the two remaining fields.
Now we can restart our DoltLab Enterprise deployment with the ./start.sh script.
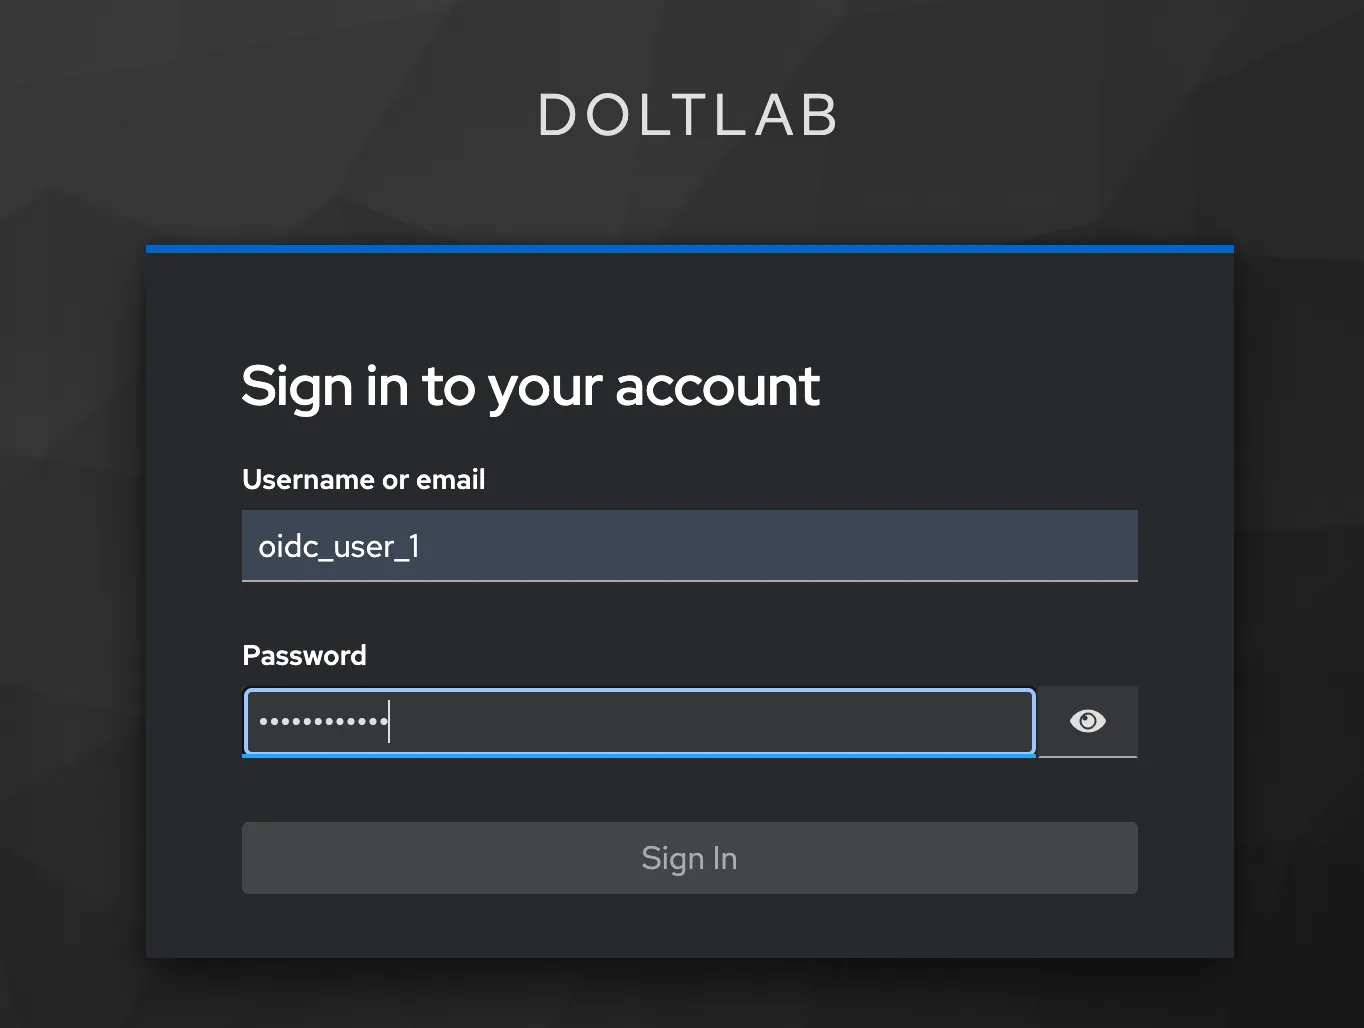
When DoltLab comes back up, a link to sign in with the IP will be displayed on the Sign-in page. When users click this link, they will be redirected to the IP.
After signing in with the IP, Keycloak here, they’ll be redirected to your DoltLab Enterprise instance and successfully logged in. They can now use DoltLab Enterprise as they normally would!
Conclusion#
We hope this new feature will encourage you to give DoltLab a try within your organization. We’re always making improvements to our products and if there’s a feature or use-case you want supported in doltlab don’t hesitate to let us know by joining our Discord server and give us a shout.
Stay tuned for more updates coming your way soon, and don’t forget to check out each of our cool products below:
- Dolt—it’s Git for data.
- Doltgres—it’s Dolt + PostgreSQL.
- DoltHub—it’s GitHub for data.
- DoltLab—it’s GitLab for data.
- Hosted Dolt—it’s RDS for Dolt databases.
- Dolt Workbench—it’s a SQL workbench for Dolt databases.